_edited.jpg)

Does this sound familiar at all?
HOURS LOST STRUGGLING WITH SOLDERING TECHNIQUES THAT STILL DON'T WORK.
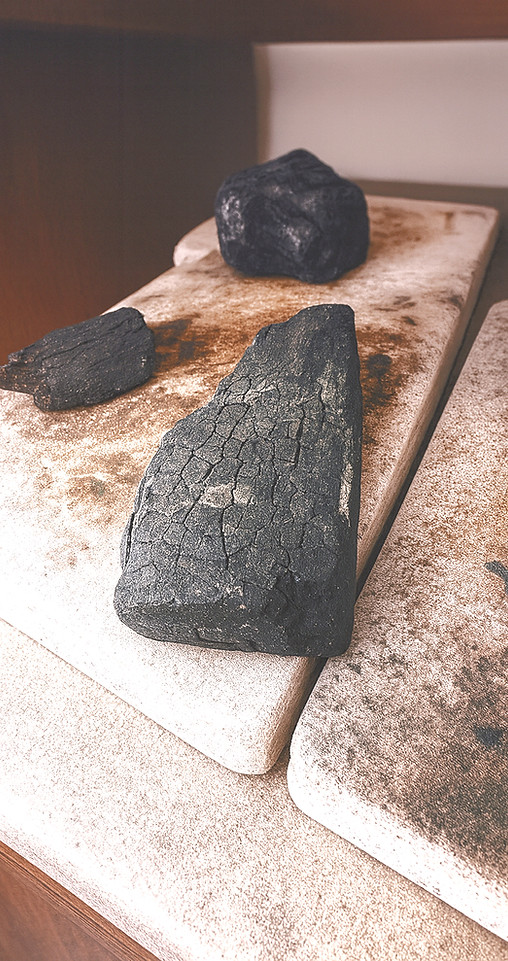
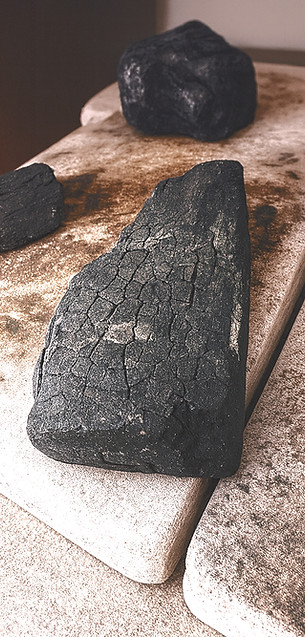
MONEY WASTED ON MATERIALS RUINED BY OVERHEATING
OVERWHELMED FROM CONFLICTING ONLINE ADVICE, LEAVING YOU NOT KNOWING WHO TO TRUST.
SEEING OTHERS SOLDERED BEAUTIFULLY, WHILE YOU FEEL LEFT BEHIND AND DISCOURAGED.
Why Soldering Feels So Hard
THERE'S NO REAL-TIME TROUBLESHOOTING
When you’re on your own:
If your solder isn’t flowing, you don’t know whether it’s heat, cleanliness, or placement
You can’t see tiny mistakes building up (like an uneven join) until the piece fails
You can’t ask, “Should I heat here or here?” in the moment
This is where people get stuck for months even years! They’re practising, but repeating the same problem over and over.
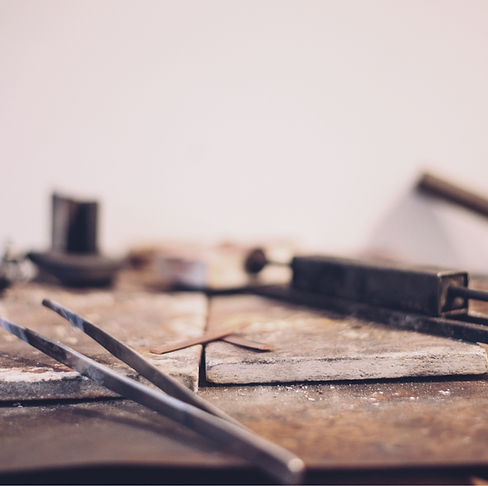
THE BUTANE TORCH HAS IT'S LIMITS
A hand-held butane torch
Has a smaller flame spread, so heating evenly is harder
Can run out of fuel quickly, meaning your timing gets interrupted
How to read the flame and adjust heat
You can absolutely solder with it, but it needs a different approach than most tutorials show.
TUTORIALS DON'T MATCH YOUR SETUP
Most tutorials are filmed in fully equipped studios. The teacher is often using:
A jeweller’s torch (with a bigger, more controllable flame)
A solid, heat‑resistant soldering station
Perfect lighting and angles
When you’re at home with a butane torch, your flame is smaller, heat is more localised, and your surface might not reflect heat as efficiently. The technique in the tutorial doesn’t always translate.
YOU'RE LEARNING THE WHAT, BUT NOT THE WHY
Tutorials show you the steps, but they don’t show you what to look for:
How the metal changes colour when it’s at flow temperature
What good flux behaviour looks like
How to read the flame and adjust heat
Without those “troubleshooting eyes,” soldering feels like guesswork.
BUT HERE'S THE TRUTH:
It’s not that you can’t solder, you just haven’t had someone show you how to troubleshoot in real time, with your setup, at your bench.

"I spent years trying to get solder to flow. It felt like I was doing everything right, but nothing worked. Once I learned how to troubleshoot in real time, it finally clicked."
Annette H
INTRODUCING
Soldering Unlocked
A 1:1 COACHING 6 WEEK PROGRAMME THAT HELPS AT-HOME JEWELLERY MAKERS GET UNSTUCK WITH SOLDERING.
Foundations That Stick
Learn the real basics of clean soldering: how to prepare joins, pick the right solder, control heat, and move the flame. Then use those skills at your home bench so they really work.
Fix Mistakes As You Go
See problems while you solder, not after. You’ll learn how to adjust the flame, guide solder flow, and fix common mistakes right away so you don’t have to throw pieces away.
Confidence at Your Bench
Stop guessing. Practice with your own tools until you feel sure of yourself. By the end, soldering feels natural—and you can make jewellery exactly how you want.

Why this programme works for home jewellers
Most soldering tutorials are made in professional studios using big, hot torches. But at home, you’re probably using a hand-held butane torch, which has a cooler, smaller flame.
That’s why solder doesn’t flow the way it does in studio videos. In this programme, I teach you exactly how to solder with a butane torch step by step. So you learn how to:
Control the smaller flame.
Heat your piece just right so the solder flows.
Adjust your technique for the tools you actually have.
Because you don’t need a studio torch to make clean joins. you just need to know how to use the tools in your home set‑up.
What makes it different:
ONE-ON-ONE FEEDBACK
Get help on your exact piece in real time. I see what’s going wrong and show you how to fix it straight away.
ACCELERATED LEARNING
Learn faster because you’re practising with your own tools and setup not in a studio you can’t recreate at home.
EXPERT GUIDANCE
You’re learning from someone who’s seen the common mistakes and knows how to get you past them quickly.
SUPPORTIVE PARTNERSHIP
You’re not alone in the process. I’m there to encourage you, answer questions, and help when you get stuck.
STRUCTURED STEP-BY-STEP
Each week builds on the last so you don’t feel lost or overwhelmed. You always know exactly what to do next.

Hayley's Transformation
"I've started to fall back in love with jewellery making"
Three months ago, Hayley was just like you, passionate about making jewellery, but always hitting a wall with soldering. She would often end up frustrated, with melted bezels and a bin of scrap silver.
After joining Soldering Unlocked, Hayley now solders with ease. She just finished a sterling silver ring with multiple soldered settings, something she once thought impossible.
EXPLORE THE PROGRAMME
So what exactly will you learn?
Let’s break it down week by week
WEEK ONE
Building strong foundations and systems for soldering success
In Week One, you learn how to set up your soldering for success at home:
WHAT WE COVER
How to clean your metal really well
Where and how to apply flux the right way
How to pick and prepare solder that works
How to fit pieces flush and gap‑free so solder flows perfectly

_edited_edited.jpg)
WEEK TWO
Heat Control – Part 1: Knowing When It’s Ready
This week builds your habit of paying close attention to the metal. You’ll learn to make tiny adjustments in real time—one of the most powerful skills for fixing problems before they happen.
WHAT WE COVER
How to avoid early mistakes like overheating, underheating, or stopping too soon
How to look at the metal and “read” its color and shine
How to tell when it reaches the right temperature for solder to flow
WEEK THREE
Directing the Flame:
Making Solder Flow Where You Want It
Solder won’t flow cleanly if the flame drifts or overheats. Learning how to guide the heat carefully is one of the trickiest parts. This week, you’ll break it down into simple steps so you gain control and precision at your bench.
WHAT WE COVER
How to move your flame with purpose so solder flows into the seam—not across or away
How to hold and guide your torch without melting the wrong things
How to adjust for smaller flames—especially when using your brûlée torch
_edited_edited_edited.jpg)
WEEK FOUR
Heat Control – Part 3: Adjusting for Solder Type & Joint Size
Different solders melt at different temperatures and flow differently depending on the joint you’re making. Knowing how to match solder type and your flame helps prevent mistakes and builds real troubleshooting skills.
WHAT'S COVERED
How different solder types (hard, medium, easy) behave under heat
How the size and shape of your joint changes what’s needed
How to adjust torch position, heat time, or solder type when something isn’t working
WEEK FIVE
WEEK FIVE
Project Planning & Home Practice
This week is where theory meets reality. You’ll plan and start a real piece using your bench setup. Using the same tools lets you build confidence and solve problems in real time.
WHAT WE COVER

Choose a simple piece you can make with what you’ve learned and your home tools
Talk through your idea and plan how to solder it safely
Practice the piece at home using everything we’ve built up in earlier weeks
%20(9)_edited.jpg)
WEEK SIX
Wrap‑Up & Finishing Techniques
Finishing makes your piece feel professional—and reinforces everything you’ve practiced. By polishing and reviewing your work, you finish with confidence and the skills to keep going on your own.
What we cover:
How to file away any rough solder join
How to sand your piece smooth using different grit level
How to polish so your piece looks clean and shine
A review of how much progress you’ve made and the habits you’ve built
This is how it works...
Weekly 1:1 Coaching Calls
We meet once a week on Zoom for a 60-minute coaching session. This is where we troubleshoot your practice, fix what’s not working, and take your skills further with focused, personal support.
Customised Practical Assignments
After each session, you’ll get homework tailored to your own projects. These short assignments help you build confidence and muscle memory between sessions.
WhatsApp Support
You’ll be able to ask questions and share progress between sessions. I’ll reply within 24–48 hours so you’re never stuck or second-guessing.
Materials and Tools
You’ll receive a simple checklist before we begin, with everything you need to get started. Don’t worry — we’ll go through it together in Week 1, and I’ll help you make the most of what you already have.
Pre-Recorded Video Lessons:
Starting from Week 2, you’ll receive a short video lesson a week in advance. These walk you through the week’s core technique so you can try it out in your own setup before our call.
We Start Together in Week 1
No need to prepare anything in advance. In our first session, I’ll walk you through the essentials — how to clean metal, apply flux, and get flush joins. We’ll also check your tools and materials together and make sure your setup is ready to go.
Downloadable Resources
You’ll get access to cheat-sheets, safety guides, printable checklists, and recap materials to keep by your bench — so you’re supported every step of the way.
Every week, you'll get
personal support, tailored feedback,
and practical steps that move you forward so no guesswork, no overwhelm.
Liz's Transformation
I was a total newbie. I'd researched site based courses in colleges and universities and found the cost, travel time and time away from my home schedule impossible to even consider....
Handmade silver jewellery has been an art form that has captivated me for as long as I can remember. Richly coloured gemstone cabochons set in silver, be it in a hammered, polished or brushed finish form. I longed to express myself in silver wrought in curves and lines evocative of nature.
With Linda I was able to build a home work station within my budget for precisely the skills I wanted to master. Through Linda's weekly online 1:1 tuition program, I was able to learn in my own home and create pieces that allowed me to test my new skills. I was given a simple, structured yet suitably challenging silver bench working skill to learn, practice and master each week.
The 1:1 sessions and between session support allowed me to problem solve and refine the methods I used specific to my own modest set-up.
Now I have a foundation of jewellery making skills that I thought were out of reach, and the independence to problem-solve and finish my pieces without getting stuck.

This is for you if...
This is not for you if...
You’re serious about mastering soldering, not just “giving it a go.
You work in a big studio with big torches
You want clean joins without needing a professional studio torch
You're ready to learn step by step and practice each week.
You're looking for a quick fix without the practice.
You don't have a home set up to work safely
You solder with a brulee torch (safe for home use and often easier for home insurance)
You make jewellery at Home

CHOOSE YOUR PLAN
Investment offers
PAYMENT OPTION 1
£1,600
One payment covers your full 6‑week programme.
-
Best value One payment, no reminders
-
You’re all set from day one
1 X PAYMENT OF £1,600
PAYMENT OPTION 2
£600
Flexible payment option
Spread the cost over 3 months.
-
Three equal payments of £600
-
Full access to the programme while you pay
3 X PAYMENT OF £1,600
THE NEXT STEPS
What Happens Next
STEP ONE:
DISCOVERY CALL
You’ll pick a time, answer a few simple questions, and we’ll chat to see if this programme is the right fit for you.
→ You book this via a calendar link, and answer a few upfront questions
STEP TWO
PROPOSAL REVIEW & ENROLMENT CALL
Once you say yes:, I’ll send your first welcome email with pre-session prep. You’ll get access to your session materials and schedule.
We’ll book your first coaching session immediately.
STEP THREE
YOUR 6‑WEEK TRANSFORMATION
This is where the change begins:
No more stopping mid‑project because a join won’t stick. No more feeling like you’re “missing something” everyone else knows. Every week your skills grow and your confidence builds
Frequently Answered Questions

“You encouraged me to do it again, not because I failed, but because now I knew what to change.